A visual report into how she’s fairing…
Author: Mik Efford
DIY Bamboo Bike Workshops
We’re investigating setting up a space to run bamboo bike building workshops in Melbourne this winter (the best time to build!). If you’ve got a spare 5 minutes we’d love you to respond to a questionnaire on how we should run these workshops.
Start the Bamboo bike building workshop questionnaire
Bamboo Boom!
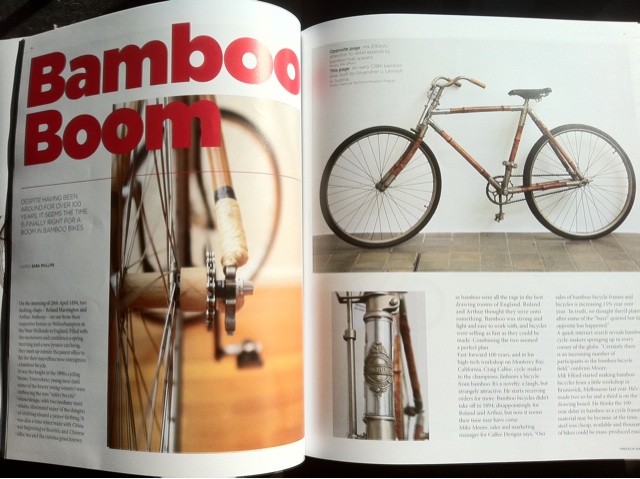
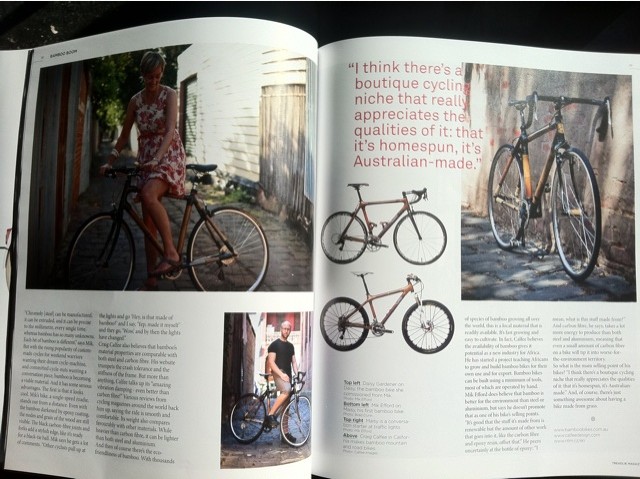
Issue 2 of the awesome Treadlie is out (Get your copy here!). There’s a four page article about bamboo bikes in it, including pics of Daisy on Daisy, myself on Maisie as well as a great write-up of the history of bamboo bikes, from the 1890’s to Calfee and on!
The progressing Panda
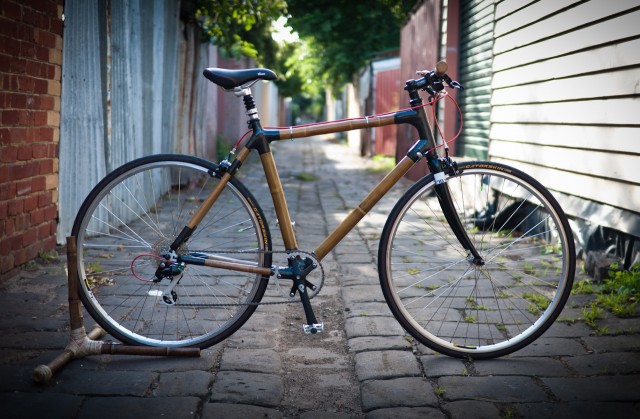
I’ve been hard at work on the 3rd frame and it’s almost ready for tack gluing in the jig. The 4th frame is very similar to the Panda so I’m going to make them in parallel, which should hopefully cut down some of the labour time. Here’s some pics.
I’ve also had Daisy back in the shop and am in the process of sanding back the finish and redoing her with a UV protective varnish instead of epoxy resin. This should protect the frame for a lot longer and prevent fading and cracking.
Sustainable Living Festival 2011
Come and see Daisy and lots of other interesting bikes this weekend (18-20th Feb) at Bike Town! It’s part of the awesome Sustainable Living Festival 2011 and presented by the lovely people from Bike Fest. Should be fun! You can also listen to an interview with Brad Spolding on 3CR’s Yarra BUG Radio show to find out more.
Soaking in the new digs.
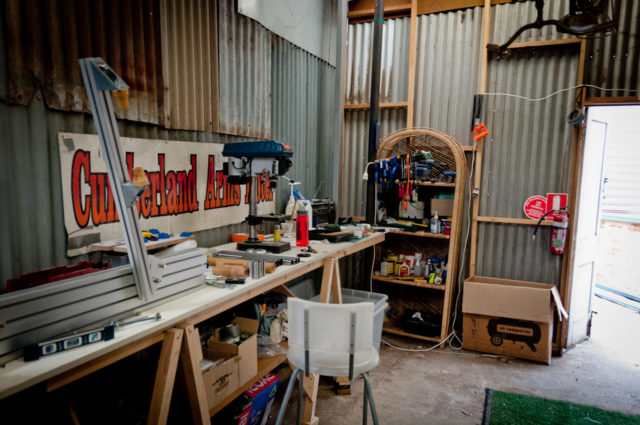
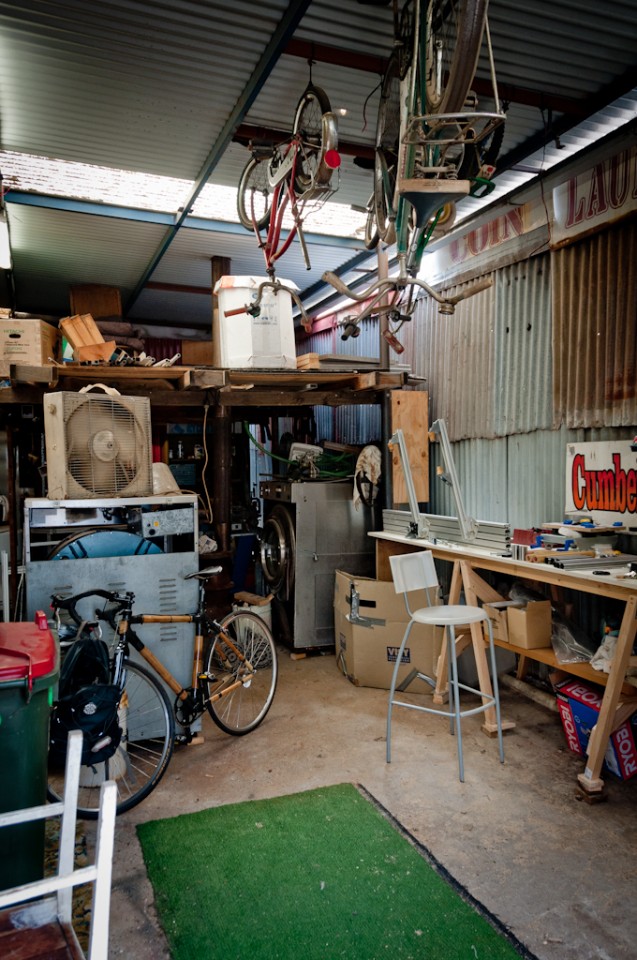
After a lovely few months in the Hope St workshop it was finally sold to be demolished for more Brunswick apartments (sigh), so out I went and into a new space just down the road. I’m tucked away behind a laundromat, sharing space with broken down washers and dryers. There’s old bikes hanging from the roof, a pot belly fire to keep me warm in winter and a small courtyard out the back that I’ll be able to do sanding in. Perfect.
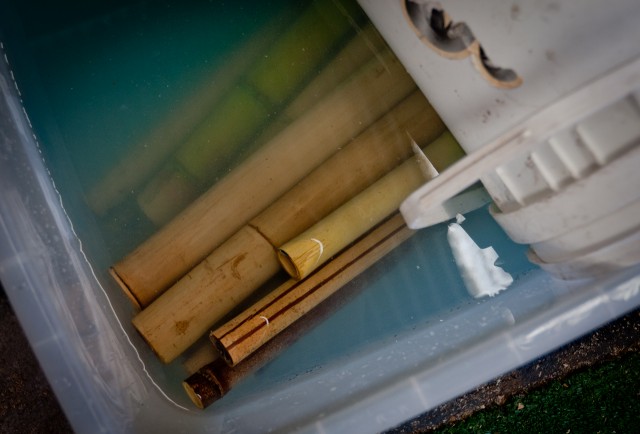
With the new space set up I got stuck into preparing production of the next two frames (both to be super-sexy road bikes). Below you can see bamboo soaking in borax and boric acid, which is done as an anti-fungal and anti-insect treatment. It’ll soak in there for a week or so, then it’s dried out and ready to use in frames.
The Panda
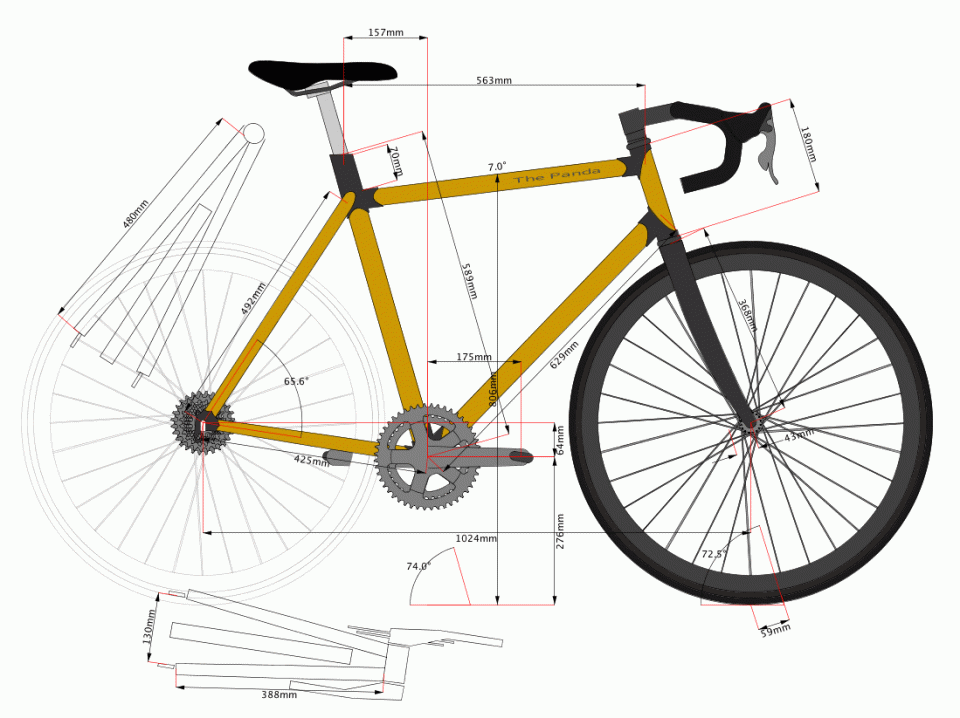
The third bike is to be a sleek and fast road bike named The Panda!
Here’s how she’s looking geometry wise (this is still a work in progress):
She’ll be running the beautiful Campagnolo Veloce groupset and Ritchey Pro components all round. Everything’s going to be stealth black except the bamboo on the frame.
I’m going to aim to get the frame weight around the 2kg mark, which with all the bling on should lead to around a 9.5kg bike. Lovely!
Daisy finally meets Daisy
Two and a half months after the initial meeting Daisy’s finally found a home with her owner, Daisy!
They met on a gloriously warm and sunny Melbourne evening. Frolicking infront of my camera for a short moment and then riding off into the sunset for a game of tennis! It’s a perfect ending for me, and a perfect start for the Daisys. May they spend a life long adventure together!
Daisy gets a photoshoot
Daisy’s passed the test
I’ve conducted the same test I did on the first frame to Daisy and she’s passed with flying colours. Here’s a video of her getting squeezed:
She just needs a rack installed and a chain-guide and she’s ready to roll for ever!
Daisy build complete
Branding
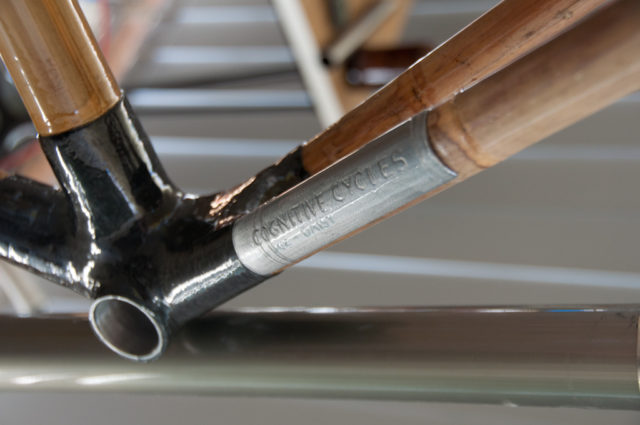
I’m still toying about with how to brand the bikes. The second frame is featuring a hand engraved steel tube (or half of one) that’s wrapped around the left hand side chain stay.
To be honest it looks a little DIY at the moment, but when polished up and covered in epoxy I think it’ll look pretty good. For the next bike I’ll investigate laser etching a logo and lettering for a more professional look.
Top Coats
The frame’s all done except for the top coats of epoxy resin. I’ve applied the first and it’s hanging up to dry. This will be sanded back and then 3 more coats applied. Check out the pics:
I’ve tried my hardest to make the carbon fibre as smooth as possible with this frame. It’s a balancing act between sanding back too much or leaving a few wrinkles. It’s painstaking work, and at some point you just have to stop and say, that’ll do – it is after all, a handmade frame and should have a few handmade qualities about it. I am, however, investigating new methods for the carbon-fibre layup that can decrease the time spent on the process.
Foam & carbon
I’m using expanding filler foam on this frame as lightweight way to make the joints more curvaceous (and thus stronger). It’s super easy to sand back and shape and doesn’t take long to set.
I’ve done the initial wrappings of the rear end and head-tube with 12K carbon fiber tow. So far it’s taken 90metres of the stuff! I’ll cover these in 1-3 layers of woven carbon fiber cloth then 2 layers of clear coat. Job done.


