The chaps at the Bamboo Bicycle Club in London are demonstrating the power of 3D Printing and bamboo during a Future Bike Live challenge at the Design Museum. Check it out at Kickstarter:
Calfee Bamboo Bike Kit on Kickstarter
How cool is this? There’s some great simple innovations in the frame building kit here. I hope it gets funded!
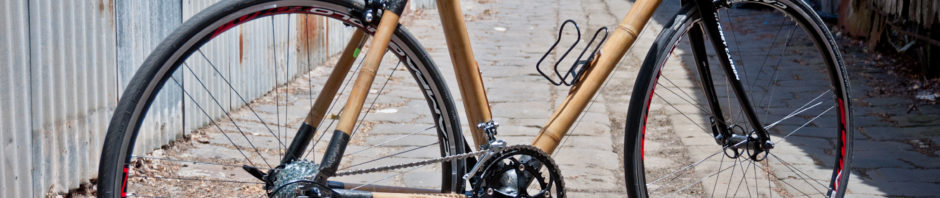
Maisie, 5 years on. A long-term test report.


So it’s been 5 years since I built Maisie, my first bamboo bike, and since then she’s morphed from a svelte single-speed cyclocross machine, to a more relaxed and convenient commuter and tourer. It’s amazing how versatile a bamboo frame is – you can drill holes in it, attach things (like cable-stops) with wood screws, and generally tinker with it without the need for welding. The thick walls mean that threads can actually bite in and using things like rivnuts or threaded inserts is relatively easy.
Last year I got rid of my car, so Maisie’s been my primary mode of transport since then, and I’d estimate I do about 150km per week of commuting and getting about.
I’ve taken a bunch of photos of Maisie in her current state, and will go through the various small customisations that I’ve made in order to turn her into a geared, racked and fendered commuter/tourer.
Cable stops for gears and brakes
Adding gears means adding cables and cable stops. Luckily I’m pretty handy with Solidworks and modelled some nice cable stops which could be screwed onto the frame. I got them 3D printed in nylon and aluminium at Shapeways and then attached them to the frame. The barrel adjuster for the rear derailleur I didn’t make – it’s a standard cable-stop (that would normally affix on some down-tube shifter bosses) that I just drilled a hole through and screwed to the frame.

3D Printed Triple Cable Stop (Nylon)

3D Printed single cable stop (alu/nylon)

Barrel adjuster cable stop

3D Printed Triple Cable Stop (alu/nylon)
Fender Mounts

I needed a fender mount near the bottom bracket, but didn’t want to drill another hole in the frame, so I lengthened the derailleur pulley bolt and inserted a spacing washer. The entire assembly is attached by a single bolt from inside the fender, through the spacer, pulley and into a threaded rivnut in the seat-tube. The brake-bridge fender mount was supplied with the fenders, which just fits over the calliper bolt. Standard.
Racking it up
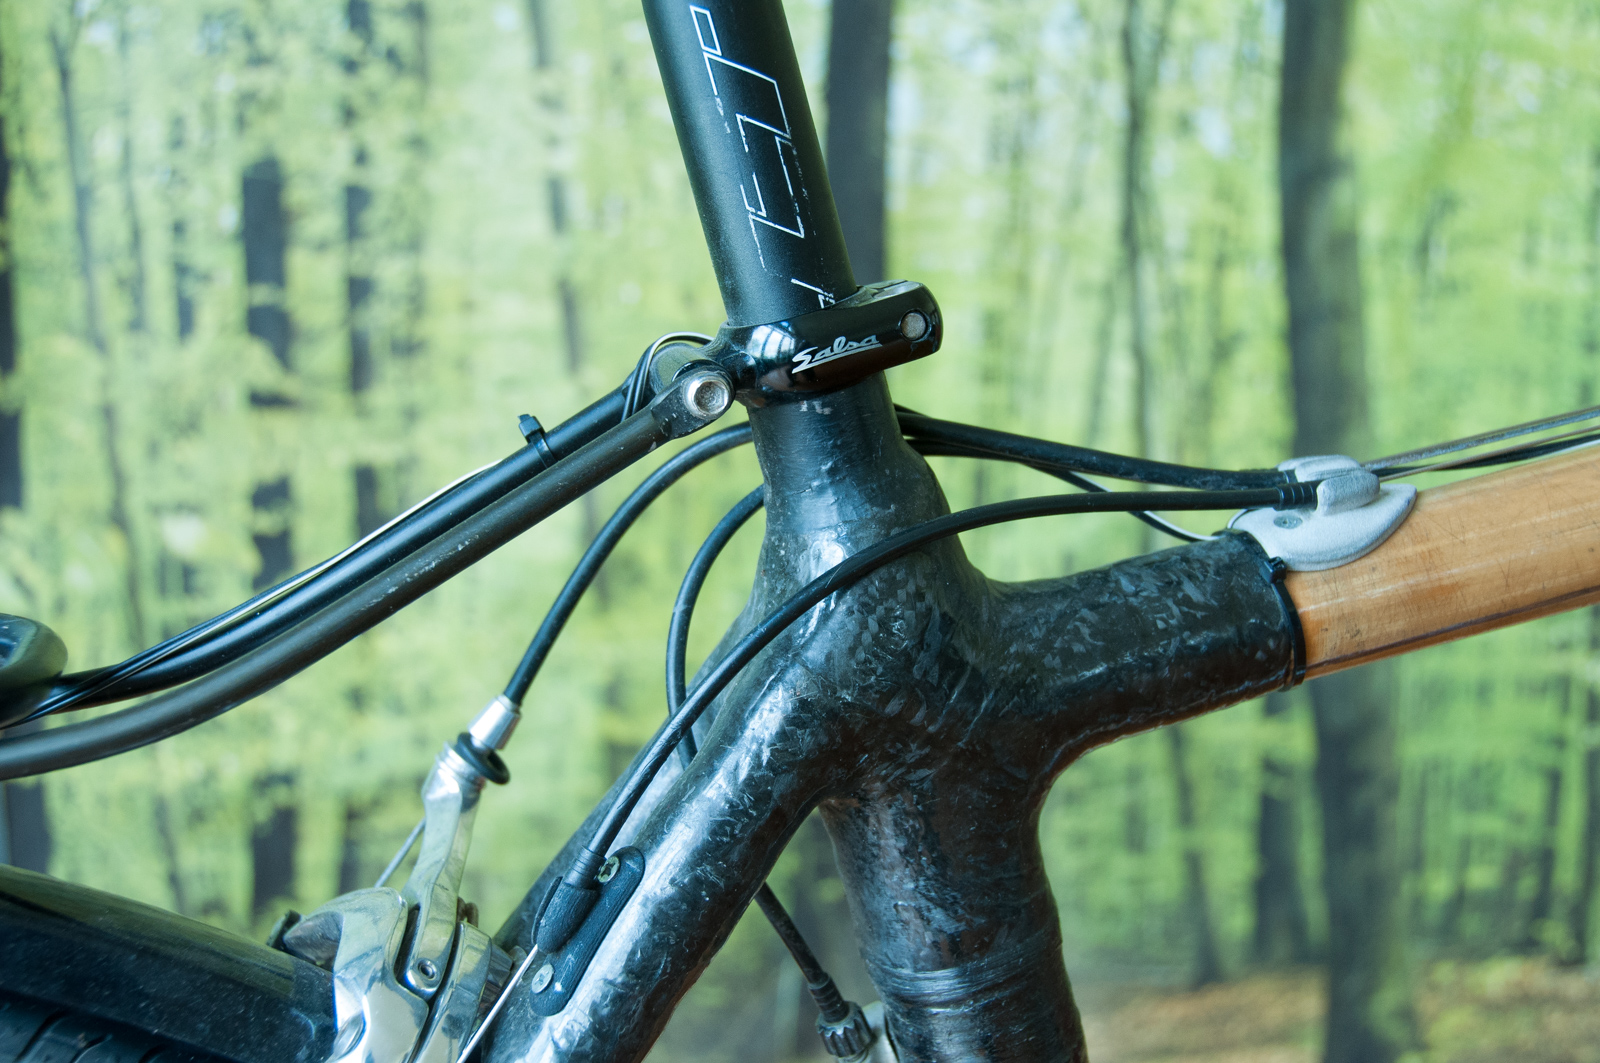
Not much was needed to add a rack to the frame, as the drop-outs already had a mounting bolt hole. All I needed was a Salsa Post Lock seat post clamp and the job was done.
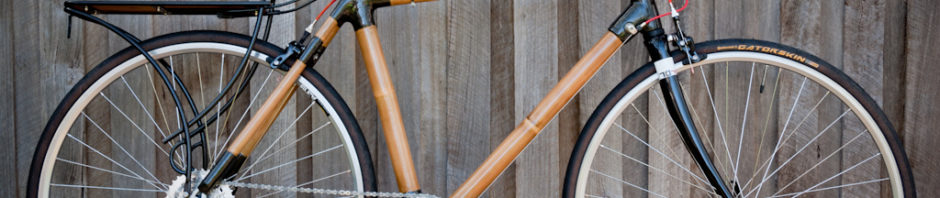
Let there be light
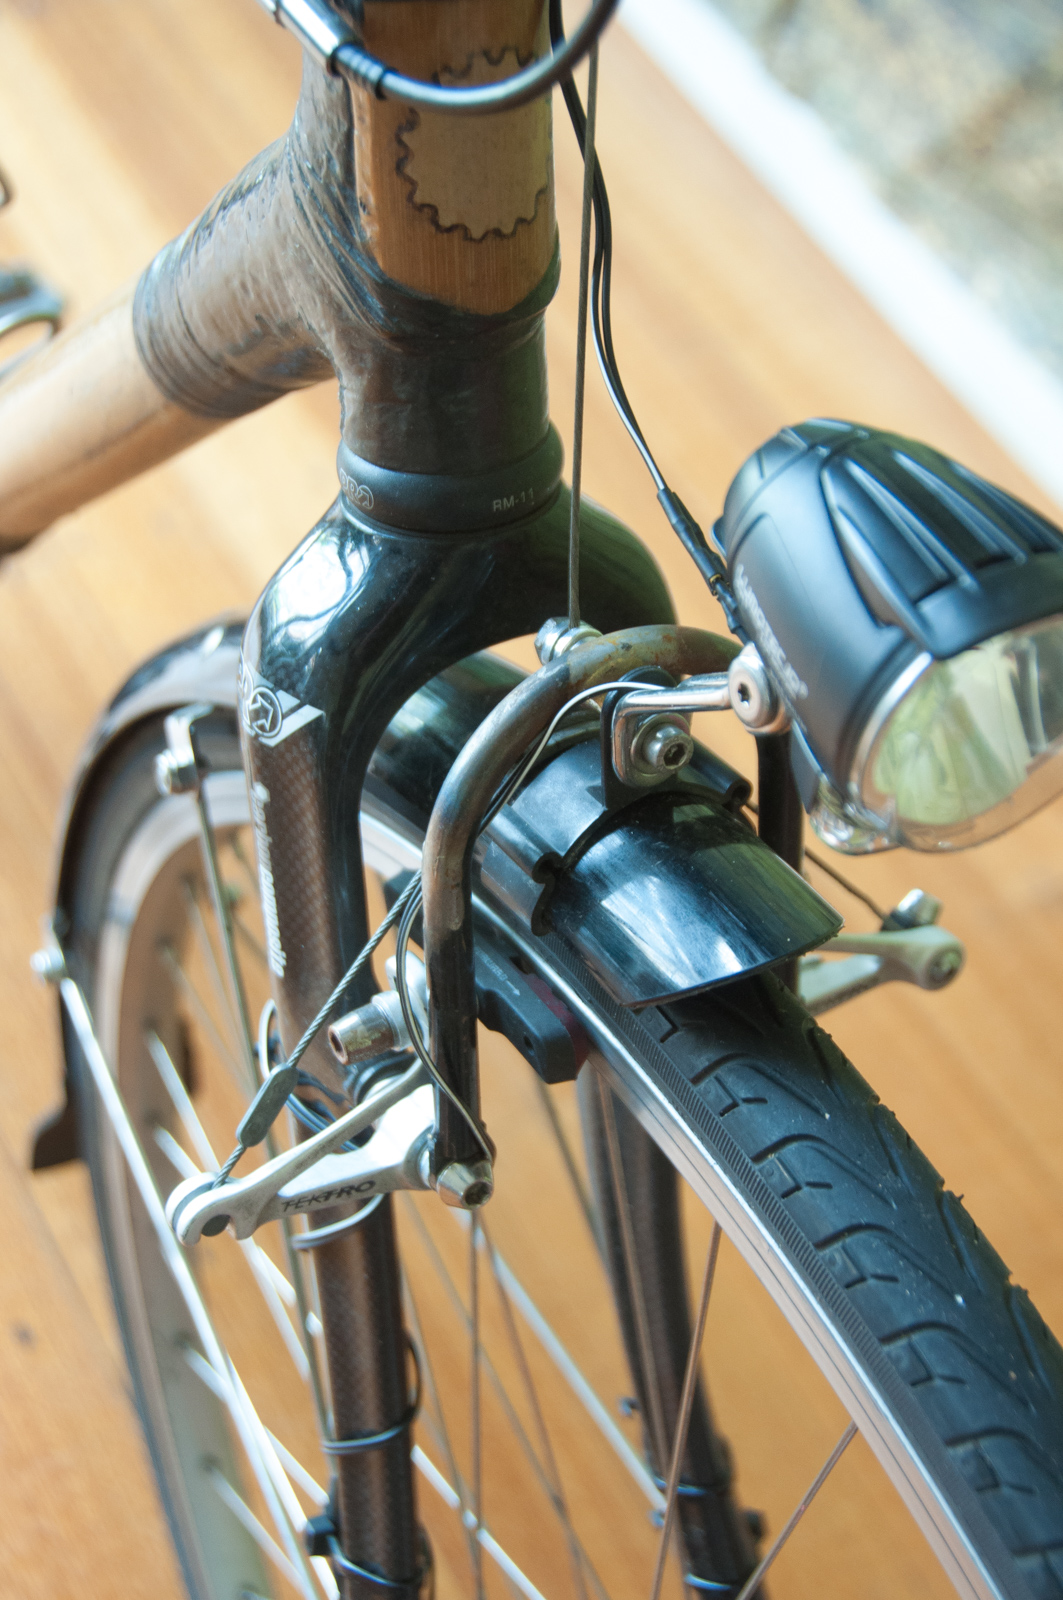
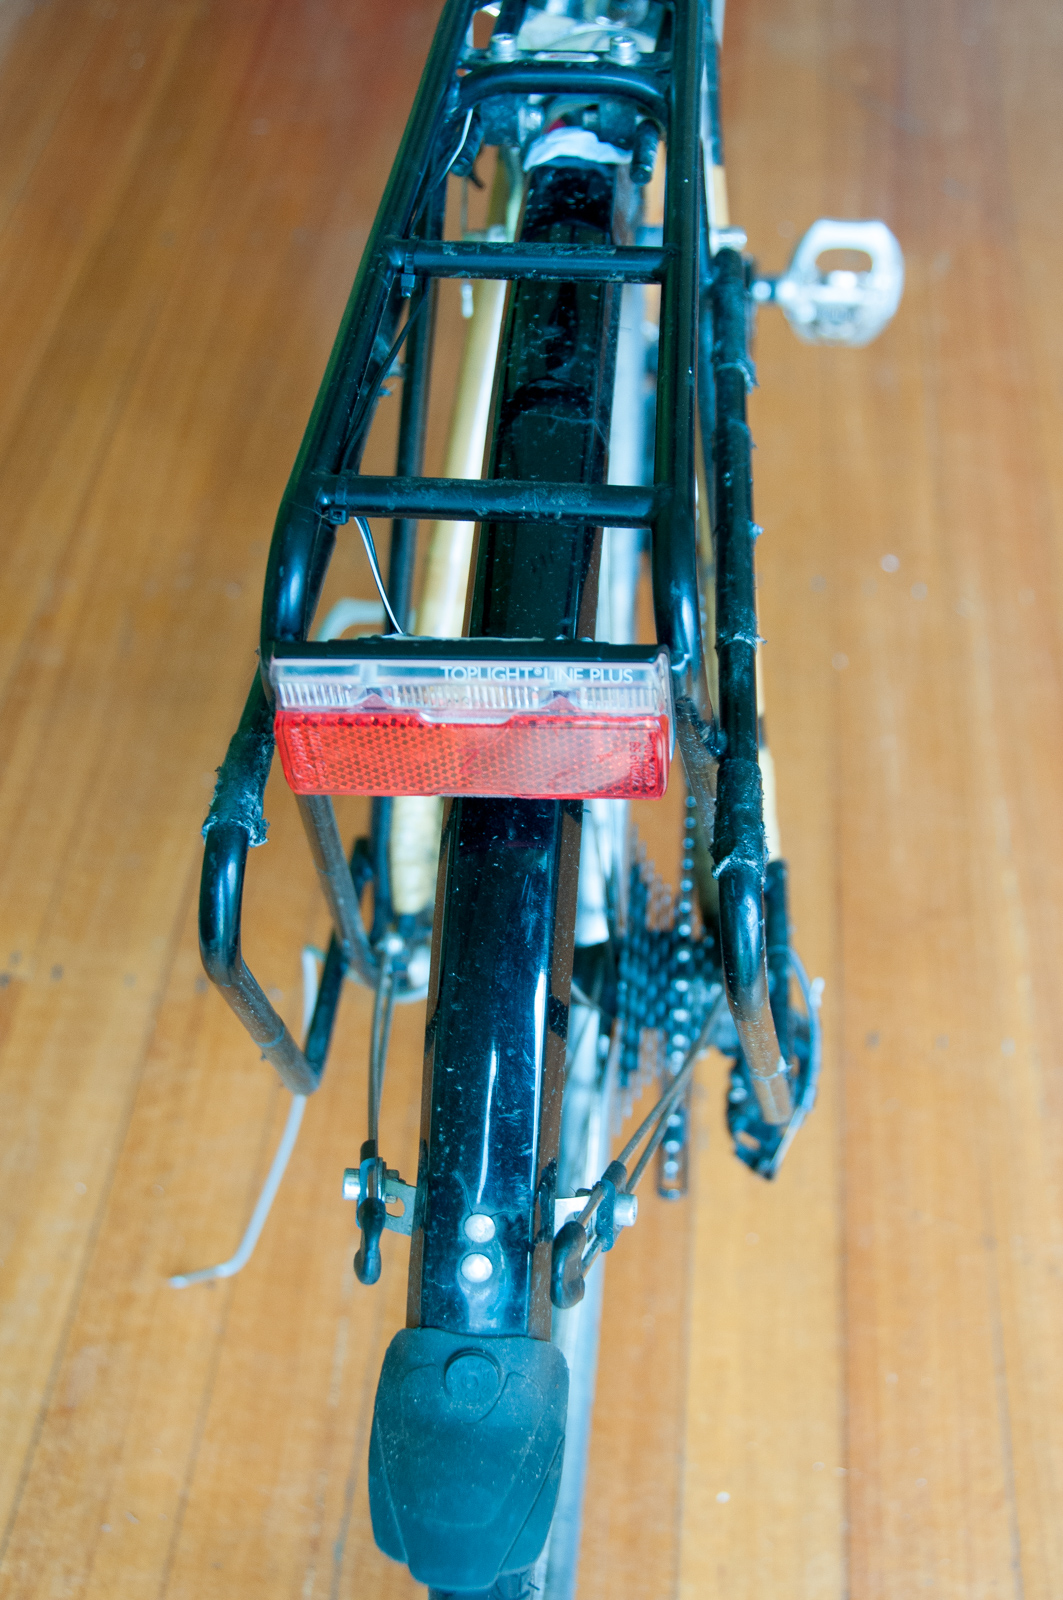
It wouldn’t be a proper commuting bike without a dynamo light, so I bought a new wheel from Commuter Cycles with a SP Dynamo PD-8 in it and wired it up to the top of the line Busch & Muller Lumotec IQ Cyo Senso Plus headlight and a Toplight Line Plus taillight too.
As my fork doesn’t have a crown hole for fenders/lights I mounted it to a u-shaped bracket affixed to the canti-studs. Good mate Scott Symes welded the hourglass to the bracket for me. I should really get around to painting it one day.
It’s absolutely amazing how much a permanent light source changes the way you think about cycling. It’s a total game changer. No more remembering where your USB blinkies are, no having to take them on and off each time you leave your bike locked up somewhere, no having to worry about them going flat. You just get on your bike and ride it, anytime of day or night. Once you get used to this concept it becomes quite a chore to ride a bike without in-built lighting. Viva the light revolution!
How’s she holding up?
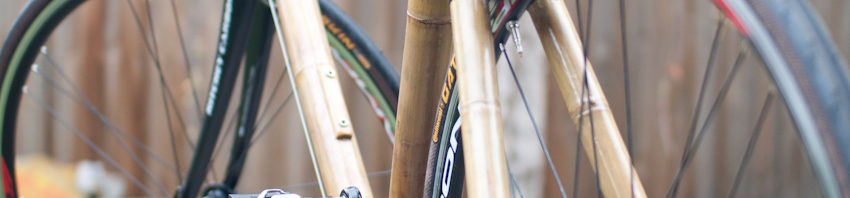
Besides some interesting creaking noises when the weather is really hot the frame seems to be maintaining its strength and durability over the long term. There’s been no de-lamination of the carbon, no cracking of the bamboo and despite a few scratches the clear-coat is holding up well. So there’s not much to report on really – it’s a bike, and it still rides like one!
Ghana Bamboo Bikes Initiative
Some great bikes being made in Ghana! Quite wonderful to see how the world is adapting to renewable resources and social enterprises. Good stuff.
Ghana's Eco-Friendly Bamboo Bikes
Meet the Ghanaian entrepreneur who's building bikes out of bamboo.
Posted by AJ+ on Tuesday, 19 January 2016
An all carbon bike?
A while back my awesome LBS gave me a box of carbon tubes and lugs and said “You’re the right person to give these too!”. And with that I had 4 frames to build, one of which I’ve completed. Take a squizz:


The process wasn’t a simple one. Here’s what I did:
- Bonded all carbon tubes and dropouts together
- Sanded and filed those back.
- Drilled and riveted front derailleur clamp
- Drilled and set water bottle bosses
- Drilled custom internal cable routing
- 3D printed custom rear brake boss
- 3D printed cable stop for front derailleur cable
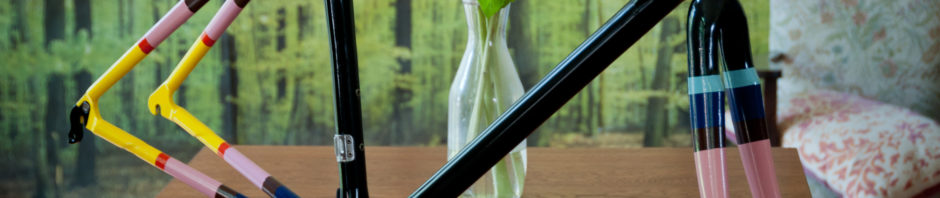
- Masked and handpainted the colour stripes with enamel paint
- Flat black enamel spray followed by 3 coats of gloss enamel spray.
What does this mean for bamboo? Well, I don’t know at this stage. It’s certainly easier working with full carbon, pre-made tubes! Maybe there’ll be another bamboo bike made soon… only time will tell.
The Samurai is complete!
After successfully completing the frame strength testing I built up The Samurai on Saturday night and now she’s all ready to be packed up and shipped off to an eagerly awaiting owner in Sydney. Click on the pic for all the details and photo gallery!

Here’s a video of the build too:
The Samurai has passed the frame test!
Today my 4th frame, the recently finished The Samurai, underwent my quality assurance testing that I do on all frames. The video below details the test and shows that the frame is strong and passes the Australian Standards for Frame and Fork Assembly. Stay tuned for a time-lapse of the parts build!
3D Printed Bamboo Bike?

So I’ve been bunkering down in the Melbourne winter in front of 3D CAD programs designing various parts for the next bamboo bike. My aim is to reduce the amount of manual labour in the manufacture of the bikes and increase their quality, but still allow for individual geometries and styles. There’s a guy on Instructables who’s made a Custom 3D printed carbon fibre and aluminium bike and a lot of what he’s done is the genesis of my ideas for how to go about making custom molds that could be used with bamboo. There’s also this guy who’s made an amazingly detailed frame using 3D printed stainless steel lugs and carbon fibre poles. The triangle cutouts in the lugs are no doubt to save weight – as with 3D printing the amount of material you use is the main cost, and there’s limits to how thin walls can be (~3mm). So thick and chunky but with lots of holes in it seems to be the way to go.
This all sounds well and good, but there’s some caveats. The material properties of 3D printed stainless steel are not necessarily the same as regular steel. It’s infused with brass as part of the process, which, along with the process used, makes it much more brittle than normal. Regular stainless steel has an elongation of around 23%. 3D printed steel only has 2.3%. That’s a huge difference. There’s other 3D printers (like the one the guy used in the video above) that claim different material properties that are closer to normal stainless, but by the looks they’re also very expensive. I’m hoping the material technology will get better in the next few years so that this won’t be an issue.
So far I’ve modelled and produced some cable-stops which are specifically designed for use with bamboo or carbon fibre frames. Here’s a close up pic of one made from plastic:

What sets it apart from a regular cable-stop is the curvature on the bottom of it is designed for thicker tubing and the tabs on either side have holes ready for wood screws so it can bolt right on. It’d probably be fitted with a dab of epoxy as well to help it stick properly.
I’ve designed it to be usable for both gear and brake cables, but I’ll have to do some strength testing on its use for the latter as there’s a lot more force going through a brake cable than a gear cable.
If you’d like some for your own project the cable-stops are available to buy directly from Shapeways, the 3D printer I’ve used. Plastic ones are $7 a pop plus postage. Stainless steel is a fair bit more. I’ll soon be adding a double and triple stop for use along top-tubes.
I’ve also designed a head-tube badge and had it printed in both white and black. I’ve coloured in the lettering on the white one to make it stand out, and I’ll probably do the same on the black (white lettering no doubt).

The next step is to start to model a set of lugs themselves. I want to be able to design them in such a way that the geometry can be changed easily and a new model produced from the changes in geometry semi-automatically. It’s a big ask, and there’s a lot of work involved, but stay tuned and it might just happen.
Shooting a Panda
The Panda was finished a few months ago, but up until now I haven’t had a chance to show her in full glory. Until now…


Daisy’s back from Portland!

Ok not really, but the kind chaps at the Bicycle Peddler liked Daisy so much they thought she’d look good with some more bamboo on her! So they supplied these beautifully crafted accessories from Portland Design Works so she could look her best, carry more, and keep those tyres pumped!

There’s a pannier rack with a bamboo deck, lock-on bamboo grips, a six-pack holding front basket with dry/cool bag and last but not least a beautiful bamboo handled pump – my favourite of the lot. The pump’s ultra-precise machining, ergonomic valve lever and magnetic handle latch are the sorts of touches that add up to something that just might make getting that inevitable puncture all the more bearable.
All this is being remarkably modelled by Ms Amy Cleggers (not her real name), who was keen to get frocked up and be shot with Daisy in the absence of Daisy’s real owner, Daisy. Are you following all that? Right. Good! Check out the pics!


Hot stuff no?
Ok what else has been happening? Well, The Panda was shown at the Design Made Trade festival, which was a fantastic event all round. It was great rubbing shoulders with other frame builders and showing Melbournites that bicycles can be made locally and compete with the international market. I’ll post some complete pics of The Panda soon on her page, I’ve left those teaser pics up there too long!
Also, The Samurai is back in the jig with a replacement seat tube all cut. Once I’ve got her all aligned she’ll be wrapped up in some snug carbon and finished off beautifully. With spring weather almost here the workshop’s a more hospitable place to work and play. Hopefully it’ll entice me more than this grim and grey winter weather.
On with the show!
An exciting week!
The Made to Measure exhibition starts this Thursday! It’s part of the State of Design Festival, featuring 18 hand crafted locally built bikes! The Panda is one of them, so come on down and check ’em out at the Royal Exhibition Building in Carlton. Entry is $10 and open to public on Saturday and Sunday from 10am-5pm (Thurs and Friday are trade days.). More info here.
Bamboo bikes also got a quick write-up to promote the festival in the Moreland Reader that appeared this week. Go us!

Maisie’s also been making tracks. She survived the second race in the Dirty Deeds CX Cyclocross series. Check out some awesome videos and photos of the event.
It’s not always plain sailing
The Samurai, my fourth frame was going well until I discovered that the seat-tube had developed some cracks around both the bottom bracket and where the seat-post sleeve inserts into it.
Luckily I hadn’t yet carbon fibered up either of those joints so I’ve been able to cut out the offending tube and will replace it with one that’s hopefully not so prone to cracking.
The cause of the cracking is probably due to the consistent cold temperates in the workshop overnight and that without coatings of epoxy bamboo will naturally dry out and become brittle and crack. It’s also due to the steel seat-post sleeve insert changing temperatures at different rates to the bamboo, causing the bamboo to crack.
Interestingly both the cracks were in places that would have been covered with carbon fiber and they probably won’t have propagated any further, but I couldn’t take the risk of that not being the case and don’t want to let a mistake roll out the door.
Below are some pics of the cracked seat-tube both before and after I’ve cut it out. It was interesting to see the different levels of adhesion (or lack thereof) of the epoxy to the various materials. It’s mostly only mechanically bonded to both the steel and the bamboo, making it very important to roughen up the surfaces to ensure a good bond. The aluminium bottom bracket is painted in a specific etch primer (the white paint), but it doesn’t seem to have chemically adhered properly to it. I’ll have to investigate why!


The Panda is born.


The Panda lives. I built her up today and her owner rode off happily into the sunset! I’d love to show you more photos, but instead I’m just going to tease you with the couple above and hope that you’ll come to the Made to Measure exhibition to see her in the flesh. It’s running July 21-24 and is to be held at the Royal Melbourne Exhibition Building. Think NAHBS, but smaller and all local! Click on the logo below to find out the details. It’s going to be great!

Finishing the Panda
The Panda’s getting the finishing touches now. 3 coats of clear coat to be exact. Here’s some pics after the first coat was still wet:


The Samurai isn’t that far behind. The head-tube’s all wrapped up and I’ll be able to work on her lots more once The Panda’s out the door. It’s been an interesting process to try to build two bikes at once – it seems like there’d be areas for time-saving, but in reality I’ve only got two hands and each bike requires such a huge amount of detailed work that you just can’t spread yourself thin that easily. Lesson learned for the future I guess!
Panda progress
Bamboo Bike #3, dubbed The Panda by its eventual owner is nearing completion. I’ve laid up 95% of the carbon fibre and just need to do some final cosmetic layers and then lots of finishing. Then comes the tricky things like brake holes, derailleur mounts and cable stops. Then some clear coat, then some testing!
Bamboo Bike #4 isn’t far away either. The head-tube’s been wrapped and the rest is scheduled to be done next week.
Here’s a few progress pics of The Panda:

all layed up, just needs sanding back

still a few more layers to go, then lots of sanding

they’ll be polished up to a mirror finish

kinda went overboard on the filleting, but it should be super stiff

needs one more cosmetic layer and a bit more sanding

all done

looking pretty messy at this point with all the tape, but rest assured there’s beautifully scratch free bamboo under there!